
Best fit
Product motion from a hero image
Add movement to a product photograph with image to video. Try a slow reveal or light change that keeps attention on the product.
Image to video, from your first frame
Create image to video motion with native audio and your source frame's ratio.
Output ratio follows the first frame. Crop your image before uploading for a different format.
Three ways to start
Image to video begins with an image you already want to use. Choose a clear subject and a composition that suits the finished clip. Describe the movement you want to add, then use image to video to explore that direction without rebuilding the scene from a written description.
Text to Video
Write what image to video should change: a gentle camera push, moving fabric, or rising steam. Let the source image describe the scene itself.
Without a first frame, try Text mode to explore a new scene. Return to image to video when a selected picture should guide the composition.
Image to Video
Start image to video with a clear JPG, PNG, or WebP. Leave space around moving elements, and crop the picture to your intended frame shape.
Image to video follows your first frame ratio. Add an optional last frame to guide the ending, then describe the movement between the two images.
Reference to Video
If image to video needs more than a first and last frame, try Reference mode. Supplied images, video, and audio can guide appearance and motion.
Use image to video when your first frame already contains the right composition. Compare estimates before adding references, since reference video can increase the charge.
Who it is for
Use image to video to test movement around a product still, portrait, illustration, or planned transition. Decide what must remain recognizable before describing the action. A restrained image to video brief often gives you a clearer result to review than several competing movements in one short clip.
Best fit
Add movement to a product photograph with image to video. Try a slow reveal or light change that keeps attention on the product.
Ecommerce
Give image to video a clear source with a recognizable subject. Inspect labels, shapes, and small details in the result before choosing a campaign version.
Ecommerce
Prepare the source crop for the intended placement before uploading. The output follows the first frame ratio, so choose a composition you want to keep.
Ecommerce
Download paid image to video clips without a site watermark. Review the result and confirm the source material rights before using it in your campaign.
Best fit
Animate a portrait or illustration with image to video. Start with one restrained movement that supports the mood of your original picture.
Creators
Keep image to video portrait movement restrained, such as a slight turn or soft fabric motion. Check that the subject remains recognizable throughout the clip.
Creators
Describe the ambience or sound that fits the picture. Listen to the finished clip with the moving image and check whether the timing supports your intention.
Creators
Open completed image to video results in My Creations. Your source and output stay private to the account, with downloads available for your normal editing workflow.
Best fit
Plan an image to video transition with a clear start and ending. Choose compatible frames and describe the action that connects them.
Filmmakers
Add an ending frame when your image to video transition needs guidance. Inspect the middle of the sequence as carefully as the supplied starting and ending images.
Filmmakers
Choose enough time for the transition to unfold clearly. Available durations are 4, 6, 8, 10, 12, and 15 seconds; check the estimate before starting.
Filmmakers
Choose 768P or 2K for image to video output. Start with a focused movement test, then compare the result with your source before refining the next attempt.
Four simple steps
Prepare the source, direct its movement, and choose the output settings. This image to video workflow keeps your existing composition at the center of the brief. Review every image to video result before treating it as a finished product or portrait asset.
Step 1 of 4
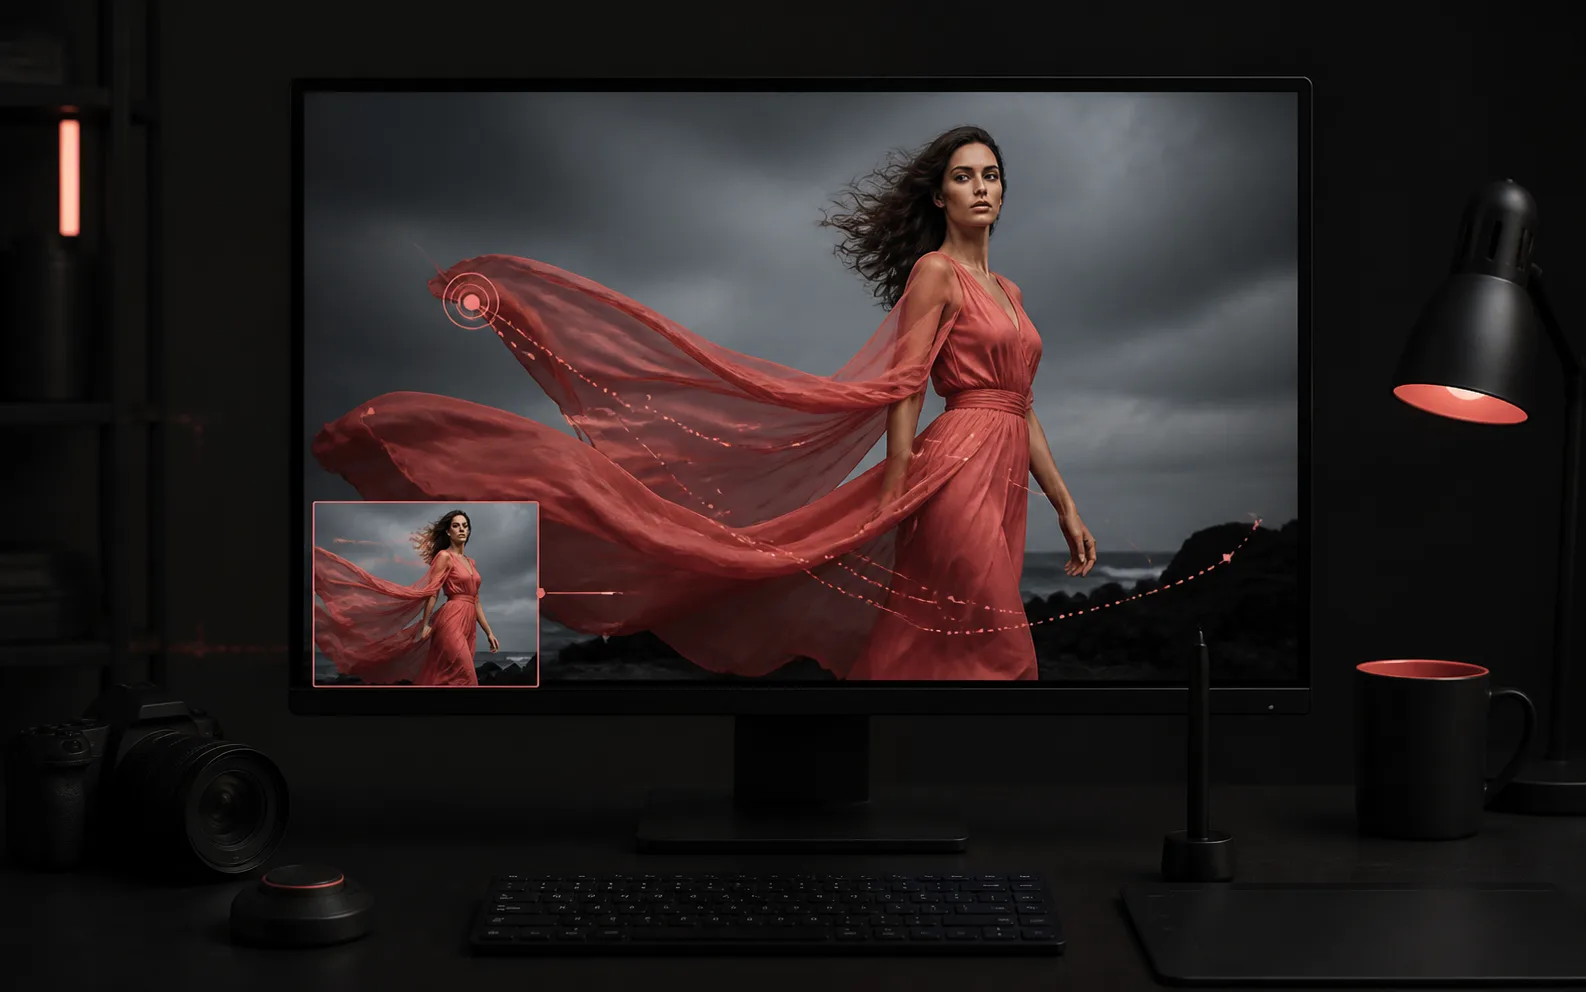
Step 2 of 4
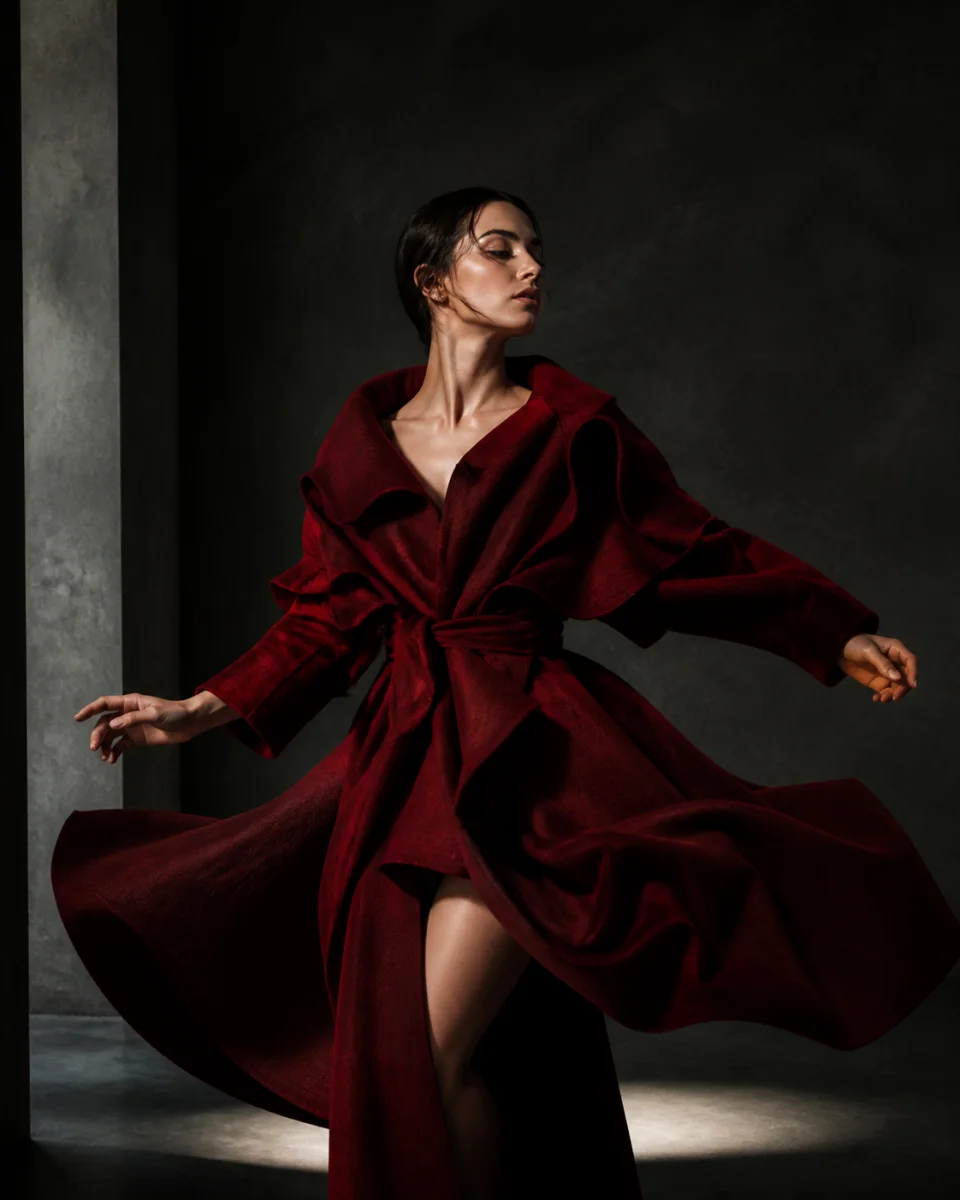
Step 3 of 4
Step 4 of 4
24,000+
Reviews
4.9
Average rating
4.8
Recommend H3Run
80,000+
Creators

Maya Chen
Performance marketer
H3Run changed everything for me. I went from waiting on a production handoff to a finished campaign clip from one product still and a short brief.

Alex Voss
Filmmaker
I use H3 Max on H3Run to test blocking and camera rhythm before a shoot. Reference mode is the first time the visual language actually carries through.

Sofia Alvarez
Paid social lead
We ship more H3 Max variants in an afternoon than we used to get from a full production week. The interface is simple and the output is client-ready.

Jordan Hale
YouTube creator
The quality from H3 Max is now essential to my workflow. Native stereo and camera direction stay in the same shot, so channel openers actually feel finished.

Elena Park
Agency producer
H3Run is now how we get client concepts out the door. Every generation stays private, and I can spin ratio variants without another editing round.

Daniel Kim
Short-form creator
H3Run lets me write the motion, the camera, and the sound in one prompt. I stopped bouncing between three tools just to get a 9:16 clip.

Priya Raman
Ecommerce lead
H3 Max keeps the product composition I already paid for. Image to Video gives me motion cuts without rebuilding the hero frame from scratch.

Noah Brooks
Product designer
The H3Run credit estimate before I hit generate is the part I trust. I keep the prompt through login and download a clean 2K clip.

Hannah Cole
Brand designer
I was skeptical, then H3 Max matched the still I already had. The subject stayed recognizable and the download had no watermark.
The image to video generator accepts JPG, PNG, and WebP first frames. Choose a clear image and crop it to your intended frame shape before uploading. Image to video follows those source proportions, so a vertical delivery should begin with a vertical composition you are happy to keep.
No. Image to video requires a first frame; the last frame is optional. Add one when the ending matters and describe a plausible transition between the two images. Review the image to video result carefully, because the generated movement can alter details between the supplied endpoints.
Tell image to video what moves, how the camera moves, what should remain consistent, and which sounds belong in the scene. Start with one main action. For subtle image to video work, small shifts in fabric, steam, or light can give you a focused result to evaluate.
Image to video uses 25 credits per output second at 768P or 40 at 2K. Choose 4, 6, 8, 10, 12, or 15 seconds and check the displayed reserve. After a successful image to video job, unused reserved credits are released; confirmed failures release the reservation.
Your image to video source is private account media, so the site asks you to sign in before selecting or uploading it. Completed image to video outputs are also private. Open them in My Creations to review the motion and audio or download a copy for your edit.
Your next shot starts here
Bring your first frame to the image to video generator. Describe one clear movement, check the settings and estimate, and review what your image becomes.
Animate an image